Why Modern Headlights Turn Cloudy Over Time
Modern vehicle headlights are manufactured from polycarbonate plastic rather than heavy glass, offering superior impact resistance and aerodynamic styling. However, polycarbonate is naturally sensitive to ultraviolet radiation from routine sun exposure. Vehicle makers apply a protective clear barrier at the factory, but weather and heat gradually degrade this shield. Over time, solar rays break down the plastic polymer chains, producing an amber haze across modern car head lights that drastically reduces visibility.
Beyond direct sunlight, everyday road hazards speed up lens degradation. Airborne sand grains, winter road salt, road oil, and industrial airborne fallout bombard the front end, physically pitting the exterior lens shell. When microscopic craters form on the plastic, dirt settles deep into these uneven crevices. Operating temperatures from high-output halogen or xenon bulbs combined with under-hood engine heat also induce thermal expansion cycles that accelerate plastic oxidation.
Operating a car with cloudy lenses compromises nighttime safety by scattering and blocking beam projection. Foggy housings can reduce forward road illumination significantly, limiting your reaction time on dark secondary roads and highway stretches. Drivers often assume their bulbs are burning out when the real culprit is merely a degraded exterior housing. Removing that oxidized layer restores the original beam focus and ensures oncoming drivers can spot your vehicle clearly.
Inspecting the Lens Before Choosing a Treatment
Before reaching for any cleaner for car headlights, you must evaluate where the problem actually lies. Most cloudiness occurs strictly on the exterior face where weather and sunlight make direct contact. You can test this by running a clean fingernail gently across the foggy plastic; if the lens feels rough, chalky, or textured, the oxidation is external and entirely treatable with the right compounds or fine abrasives.
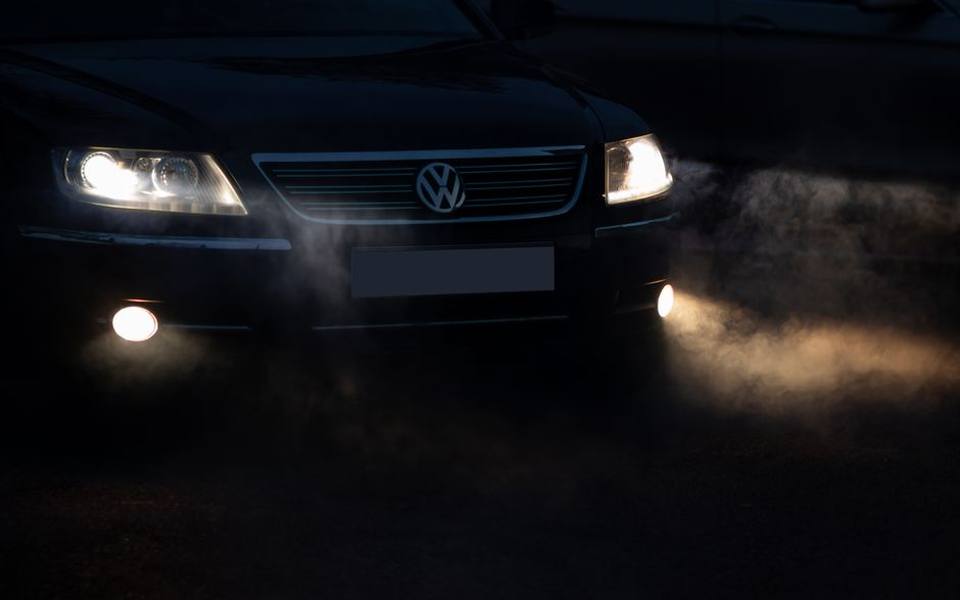
Sometimes, moisture accumulates on the inside of the assembly due to dried rubber gaskets, hairline cracks in the housing, or clogged ventilation ports. If you spot water droplets, pooling moisture, or fog clinging behind the clear plastic, exterior cleaning methods will not resolve the issue. Internal moisture requires unbolting the entire headlight assembly, drying the interior thoroughly, and resealing the perimeter seams with fresh automotive butyl tape or silicone sealant.
It is also helpful to gauge the severity of the discoloration before purchasing materials. Mild hazing that has developed over just a few months might surrender quickly to a light polish or household abrasive paste. In contrast, heavy amber crusting that has baked under the sun for years typically penetrates deeper into the plastic substrate. Identifying whether you face light haze, deep crusting, or internal moisture saves time and keeps you from buying unnecessary supplies.
Surface Preparation and Protecting Nearby Paint
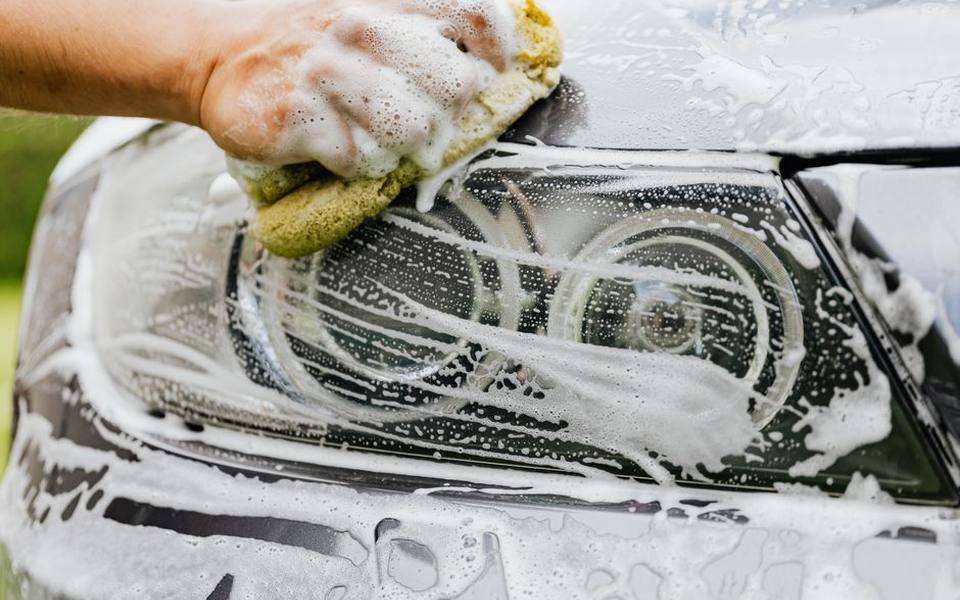
Any attempt to clean car headlights should begin with a thorough wash to strip away road grime, loose grit, and dead insects. Scrubbing an unwashed lens rubs sharp sand grains into the polycarbonate, creating deep swirl marks that require aggressive sanding to fix. Giving the front end a meticulous wash at local self-serve wash bays or using a fresh bucket of car wash soap removes superficial road contaminants safely.
Once the lenses are washed and completely dry, safeguarding the surrounding paintwork is your next critical priority. Restoring headlights involves abrasive pastes, compounds, or sanding papers that can permanently gouge delicate automotive clear coats. Take high-grade blue automotive masking tape or painter's tape and apply at least two overlapping layers around the perimeter of each headlight housing, covering the bumper edges, front fenders, and hood margins.
If your vehicle features tight body panel seams where tape slips loose, consider popping the hood open during the job to expose the upper mounting tabs and eliminate risk to the hood lip. For those who want maximum control, removing the headlight assemblies entirely lets you work freely on a padded bench. However, careful masking directly on the car usually provides more than enough insurance against accidental panel scratches.
The Toothpaste Method: Expectations Versus Reality
The idea to clean your headlights with toothpaste has circulated among vehicle owners for years as an inexpensive home remedy. The logic behind it is chemically sound: standard toothpaste contains mild abrasives, such as silica, calcium carbonate, or aluminum hydroxide, intended to buff plaque off enamel without scratching teeth. When applied to oxidized plastic, these minute abrasive particles lightly scour away the fragile, dead layer of oxidized plastic clinging to the surface.
However, using toothpaste is fundamentally a cosmetic touch-up rather than a true front light restoration. Toothpaste lacks the specialized chemical cutting agents and standardized grit ratings found in dedicated automotive polishes. It works reasonably well on very mild surface grime or light hazing, but it cannot cut through deep amber crusting or coarse pitting caused by thousands of highway miles. Setting realistic expectations prevents frustration when tackling older, heavily neglected headlights.
Furthermore, standard household paste contains zero UV blocking inhibitors. While it may temporarily clear the lens by stripping off loose oxidized plastic, the freshly exposed raw polycarbonate remains completely defenseless against the sun. Without applying a dedicated synthetic sealant or UV clear coat right after you clean car lights with toothpaste, the cloudiness will typically return within a matter of weeks, often looking more severe than before.
How to Clean Car Headlights with Toothpaste Correctly
If you choose to clean car headlights toothpaste style, select the right type of product. Standard white paste featuring baking soda works best because it contains a balanced amount of grit without excessive moisture. Avoid gel-based formulas, colored pastes with blue or green stripes, and whitening formulas loaded with harsh peroxides or mint flavor crystals, as these additives offer no mechanical cutting ability and can leave a sticky film on your plastic.
Begin by wetting a clean, lint-free microfiber towel with lukewarm water, then squeeze a quarter-sized dollop of white paste directly onto the cloth or lens. Work the paste over the entire housing using firm, tight circular motions for about three to five minutes per light. You will gradually see the white paste turn a dull yellowish-brown shade as it picks up dead plastic and road grime from the exterior surface.
Rinse the lens thoroughly with clean water, wiping away every trace of chalky paste from the seams and crevices. Dry the area completely with a fresh towel and inspect your work under natural light. If yellowing remains, you can repeat the rubbing process once more. Always finish the job by wiping the lens clean and applying an automotive wax or temporary sealant to shield the stripped plastic from immediate environmental contamination.
Dedicated Car Headlight Cleaner and Chemical Restorers
When household hacks prove too weak, a dedicated cleaner to clean headlights offers far superior performance. Commercial headlight restorer formulations combine micro-abrasives engineered specifically for optical polycarbonates with solvent cleaners that soften and dissolve oxidized polymer chains. Unlike domestic paste, a professional car light cleaner cuts through dead surface layers uniformly without gouging the plastic or leaving behind cloudy scratch patterns that scatter forward beam illumination.
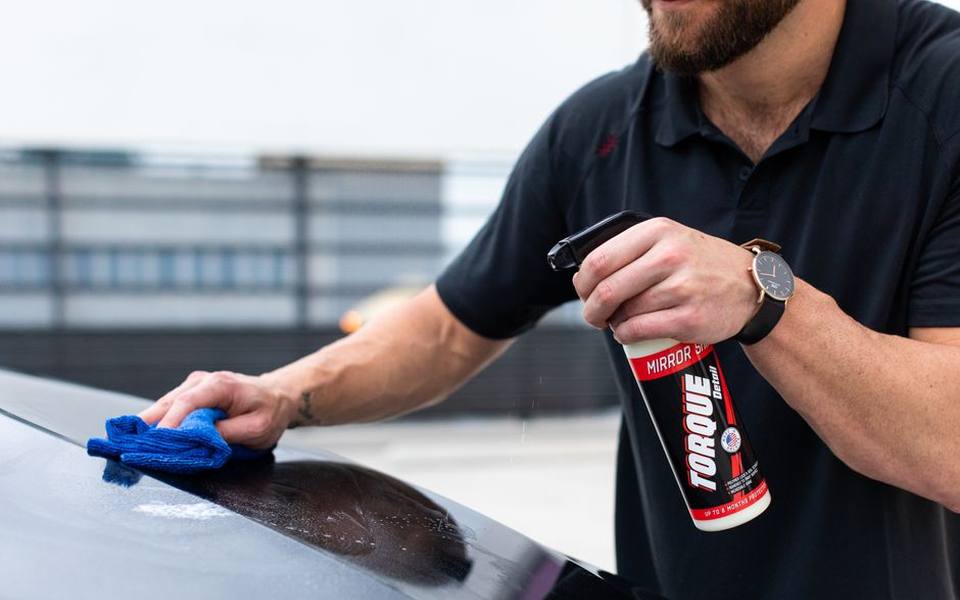
Many off-the-shelf car headlight cleaner kits come as chemical wipe systems or liquid polishing bottles. Chemical oxidation wipes work by chemically melting the thin degraded surface film on contact, allowing you to wipe away yellow residue in a single sweeping motion. These wipes require minimal elbow grease, making them ideal for drivers who lack power tools or have limited time to invest in extensive wet-sanding procedures.
For vehicles with moderate haze, liquid restorer compounds applied by hand with a foam applicator pad typically produce dependable, balanced clarity. Working the product across the lens breaks down the abrasive particles gradually from coarse to ultra-fine, leaving a smooth, glossy surface behind. Drivers maintaining their vehicles alongside routine visits to a hand car wash frequently find that periodic light compound buffing keeps minor haze from establishing a stubborn foothold.
Wet Sanding for Severe Cloudiness and Surface Pitting
Severely neglected lenses displaying dark amber crusting, deep pitting, or peeling clear coats cannot be salvaged by chemical wipes or basic pastes alone. In these heavy-wear situations, progressive wet sanding is required to shave down the dead plastic layer until smooth, virgin polycarbonate is reached. While taking sandpaper to your vehicle sounds intimidating, wet sanding is a proven, controllable process when executed with correct water lubrication and proper grit progression.
Start with a bucket of water mixed with a few drops of car wash soap to act as a lubricant, soaking your sandpaper sheets for ten minutes beforehand. Begin with 1,000-grit wet sandpaper for heavy yellowing, wrapping the paper around a soft foam block. Sand strictly in horizontal strokes across the lens, keeping the work surface saturated with water. The runoff water will look milky yellow as the oxidized plastic slurry washes away.
After horizontal passes remove the yellow crust, wipe the lens dry, switch to 2,000-grit paper, and sand strictly in vertical strokes. This cross-hatch pattern ensures you eliminate the coarser scratch marks left by the previous paper. Finally, finish with 3,000-grit paper using circular motions until the surface feels completely uniform and satin-smooth. Never rush wet sanding dry; continuous water lubrication prevents friction burn and keeps paper pores from clogging.
Machine and Hand Polishing for Crystal Clarity
Following wet sanding, the headlight will appear evenly frosted and matte rather than completely transparent. The next phase transforms that smooth, satin finish into crystal-clear optical transparency. To achieve this, you need a high-quality rubbing compound followed by an ultra-fine finishing polish designed for plastics or clear coats. Polishing removes the microscopic 3,000-grit sanding marks, leveling the surface so light passes cleanly through without scattering.
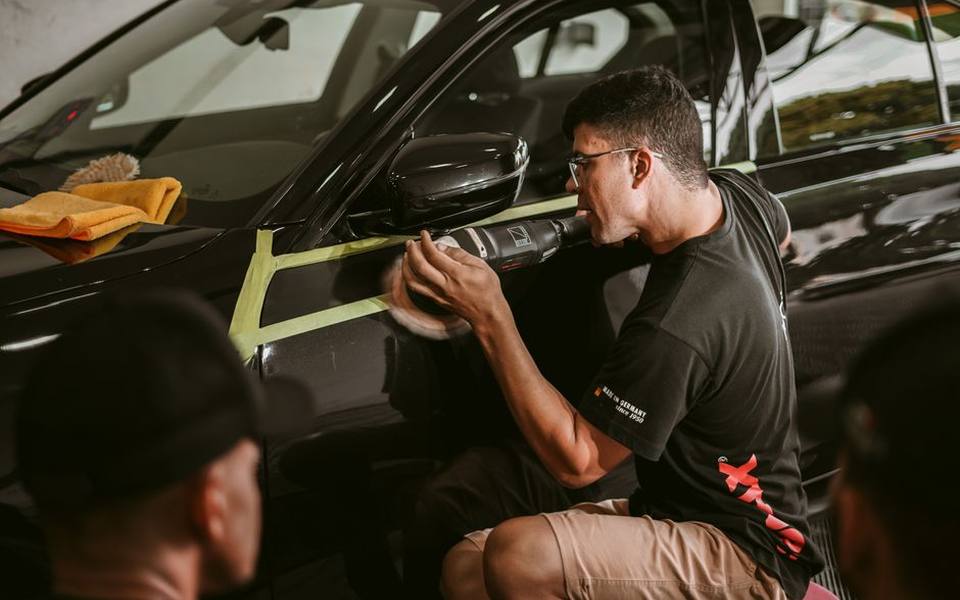
Hand polishing requires a firm microfiber or foam cutting pad, working a nickel-sized drop of compound into the lens with brisk, overlapping circles. However, using a cordless drill equipped with a three-inch buffing pad or a random orbital polisher delivers dramatically faster and more uniform results. Keep the machine moving constantly over the lens face at moderate speeds to avoid generating excessive friction heat, which can soften or warp delicate polycarbonate plastic.
Once the compound removes the frosted appearance, switch to a soft finishing foam pad and a light finishing polish. Buff the lens until the plastic turns brilliantly transparent, revealing the internal chrome projector bezels and amber turn signal reflectors in crisp detail. Wipe down the entire housing with a clean microfiber towel dampened with diluted isopropyl alcohol to strip away lingering polishing oils before applying any protective topcoat.
Sealing and UV Protection to Lock in Clarity
Polishing alone leaves raw, unprotected polycarbonate exposed to the elements, meaning ultraviolet light will quickly yellow the plastic again. Applying a durable UV sealant is the most vital step in the entire restoration process. Without this barrier, atmospheric oxygen, heat, and sunlight will degrade the bare plastic in as little as four to eight weeks, effectively wasting all of your hard restoration labor.
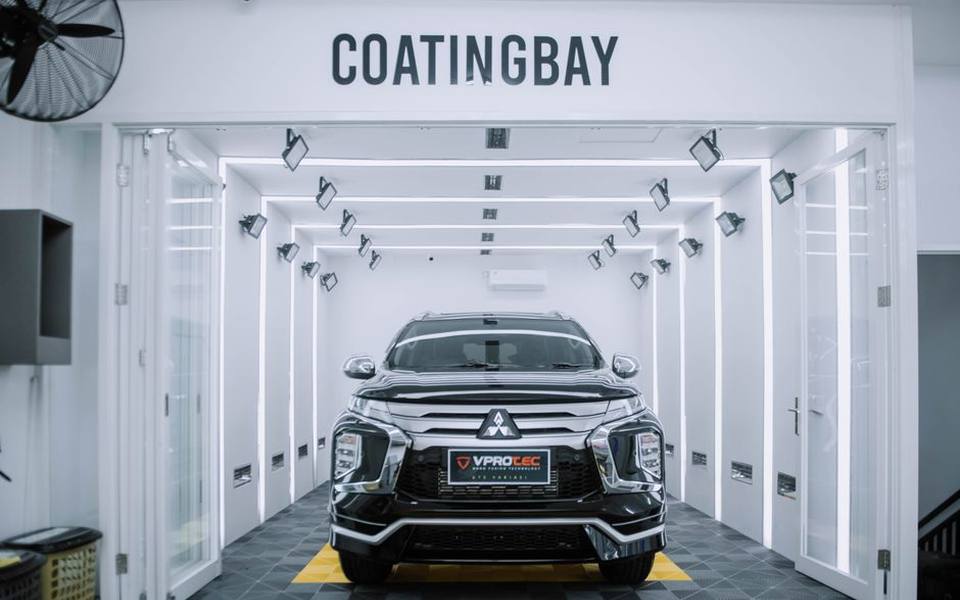
Vehicle owners have several options for protective coatings, ranging in durability from several months to multiple years. Synthetic liquid sealants and paste waxes offer the simplest application but require reapplication every few months after regular vehicle washes. Ceramic coatings, which bond molecularly to the polycarbonate surface, provide much longer-lasting defense against light scratches, chemical stains, and intense sunlight while shedding water and road grime effortlessly.
For maximum longevity comparable to factory durability, an automotive-grade, 2K clear coat spray formulated with active UV blockers is the gold standard. Applying two thin, even coats creates a hard, resilient physical shield that can easily last several years under harsh sun. Ensure the plastic is thoroughly decontaminated and neighboring panels are completely masked before spraying clear coats to avoid permanent overspray on surrounding vehicle paint.
Long-Term Maintenance and When to Call a Professional
Keeping your restored headlights bright requires minimal effort once a reliable sealant is in place. Wash your vehicle regularly using pH-neutral car shampoos and gentle wash mitts rather than aggressive brush machines. Visiting a modern touchless wash helps minimize mechanical friction against the clear coat, preserving both your paint and delicate headlight protection barriers against harsh friction and premature wear.
If your headlight assemblies suffer from internal silver reflector burn, cracked structural tabs, micro-crazing inside the plastic matrix, or persistent moisture leaks, simple surface treatments will not resolve the underlying failure. In such instances, hiring a specialist through professional full car detailing services can breathe new life into borderline assemblies, or you may need to purchase replacement original equipment housings.
Maintaining clean car headlights ensures that nighttime driving remains safe, stress-free, and visually clear for you and other motorists sharing the road. Whether you rely on an occasional quick pass with a gentle cleaner or invest an afternoon in a full multi-stage restoration, proactive care protects your vehicle's appearance and preserves essential forward illumination for every journey ahead.
Published 2026-09-24 · reviewed with each rebuild, last October 2026.
Find car washes near you
The directory lists 29,234 car washes by state and city — pick your state or use the “Near me” button in the header.
More guides
-
 Money
MoneyCar Detailing Cost Guide: Average Prices and Packages
-
 Service
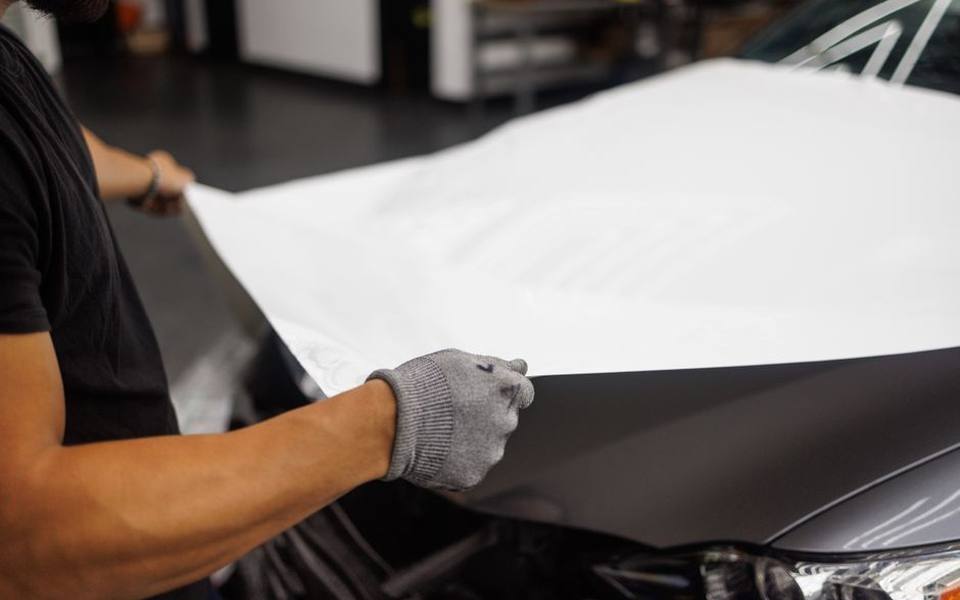
How to Remove Window Tint and Car Wraps: DIY Methods and Costs
-
 Service
Headlight Restoration Guide: Cleaning Methods and Repair Costs
-
 Buying
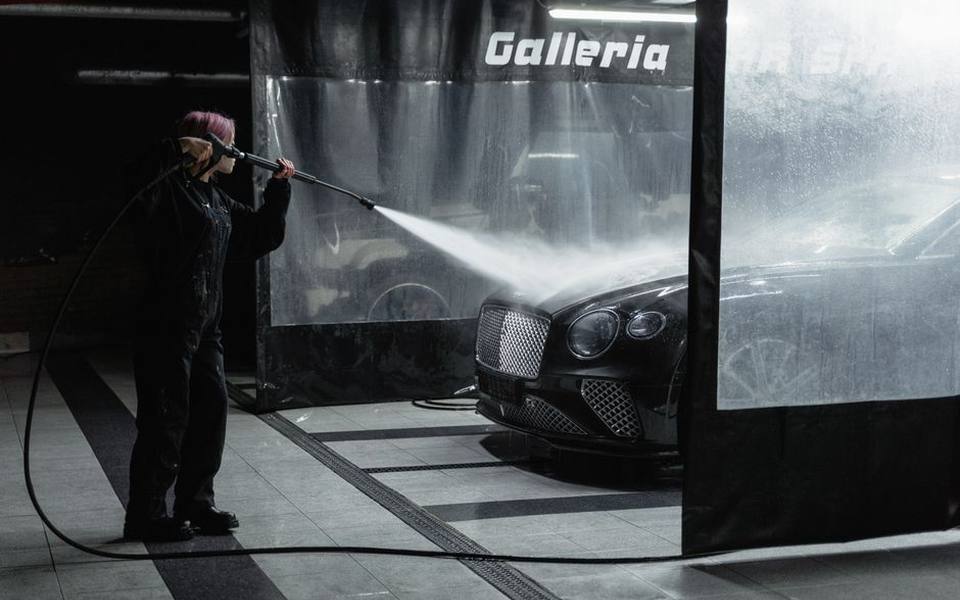
Choosing the Best Detailing Vacuums, Steamers, and Washers
-
 Service
How to Buff and Polish Car Paint: DIY Exterior Detailing Guide
-
 Owning
Best Car Detailing Products: Waxes, Sealants, and Clay Bars
-
 Service
Interior Car Detailing: How to Clean Seats, Carpets, and Remove Odors
-
 Service
Car Scratch Removal Guide: DIY Fixes versus Body Shop Costs
-
 Service
Complete Guide to Self-Serve and Automatic Drive-Thru Car Wash Services
-
 Service
Professional Auto Detailing: Interior Deep Cleaning and Mobile Wash Guide
-
 Service
Vehicle Air Filter Replacement: Cabin vs Engine Air Filters
-
 Service
Car Scratch Repair, Paint Correction, and Buffing Techniques
-
 Owning
Complete Car Interior Detailing Guide: Carpet, Leather, and Dashboard Cleaning
-
 Service
Automotive Glass Cleaning, Water Spot Removal, and Windshield Repair
-
 Service
Automotive Ceramic Coatings and Paint Sealants: Costs, Products, and Application