The Fundamentals of Streak-Free Automotive Glass
Achieving truly clear car windows requires understanding that automotive glass faces far harsher contamination than residential mirrors or living room panes. Road grime consists of engine exhaust oils, unburned hydrocarbons, asphalt particles, insect splatter, and baked-on mineral residues. When drivers simply smear these oily films across the glass with a damp rag, blinding glares inevitably appear as soon as morning sunlight strikes the windshield.
A proper cleaning routine separates the removal of surface debris from the final polishing stage. Spraying an appropriate solution directly onto automotive glass often leads to overspray on sensitive dashboard materials or door panels. Professional detailers instead mist their solution onto a clean microfiber towel, work the glass systematically in straight overlapping lines, and immediately buff the glass dry with a secondary, clean cloth.
Temperature also dictates the success of your glass cleaning routine. Working directly under hot afternoon sunlight causes liquid solutions to evaporate before they can encapsulate and lift road film, leaving stubborn chemical streaks behind. For the best outcome, park your vehicle in full shade and ensure the exterior glass feels cool to the touch before applying any cleaning product.
Why Household Window Cleaners Damage Car Glass
Reaching for a blue household window spray from under the kitchen sink is one of the most common mistakes car owners make. The vast majority of standard household cleaners rely heavily on ammonia to cut grease on residential architectural glass. While ammonia dissolves grime quickly, it wreaks havoc on specialized automotive materials, especially aftermarket window tinting films commonly installed across sunny regions.
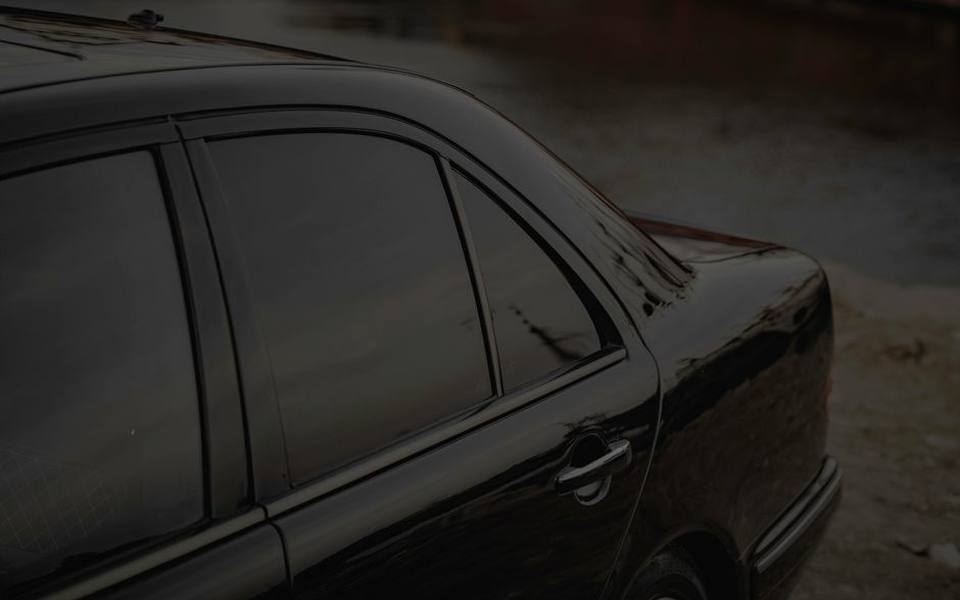
Ammonia reacts chemically with the adhesives and dye layers inside window tint, causing the film to blister, turn purple, and peel away from the glass over time. In addition to ruining tinting, ammonia vapors degrade the synthetic rubber weatherstripping surrounding window frames and dry out vinyl dashboard toppers. Once dried out, these weather seals can crack, leading to wind noise and unwanted moisture leaks inside the passenger cabin.
Dedicated automotive window cleaner solutions rely on gentle surfactants, distilled water bases, and specialized alcohol blends that flash off quickly without leaving soapy film behind. These tint-safe formulas break down road oil and tobacco or vape residues without threatening delicate interior trim, rubber seals, or heated defrost grid lines embedded in rear windows.
Mastering the Two-Towel Method for Car Windows
The two-towel cleaning method remains the industry standard for streak-free car window cleaning. This straightforward technique isolates the dirty lifting phase from the drying and buffing phase, preventing the re-deposition of greasy film onto the glass. You will need two waffle-weave or low-pile microfiber towels dedicated exclusively to automotive glass work, avoiding plush towels that tend to shed lint.
Begin by folding both towels into manageable fourths, giving you eight clean working sides per cloth. Lightly mist your first towel with auto glass cleaner and wipe the glass using tight, overlapping horizontal passes across the outer half of the window, followed by vertical passes on the inner half. This alternating pattern allows you to instantly pinpoint whether any remaining haze is on the interior or exterior side of the pane.
Immediately take your second, completely bone-dry microfiber cloth to buff the surface before the residual mist evaporates naturally. Flip to a fresh dry side of this second towel for every subsequent piece of glass. If you frequently wash your vehicle at self-serve wash bays, keeping a sealed bag of clean, dedicated glass towels in your trunk ensures you never wipe clean glass with a towel contaminated by wheel grime.
Eliminating Interior Windshield Haze and Outgassing Film
Many drivers notice a milky, foggy haze coating the inside of their front windshield, especially during hot summer months. This persistent film is caused primarily by plasticizer outgassing from the vehicle's vinyl, polyurethane, and molded plastic dashboard components. Under intense cabin heat, synthetic materials release oily airborne compounds that naturally condense on the coolest surface available: the windshield glass.
Because plasticizer film is fundamentally oily, standard water-based cleaning sprays often smear it around rather than dissolving it completely. Clearing this stubborn film requires a grease-cutting automotive glass cleaner combined with deliberate wiping pressure. For vehicles carrying heavy smoke, pet saliva, or severe interior buildup, scheduling interior car detailing provides the specialized tools needed to reach deep into sloping dash corners.
To tackle hard-to-reach lower corners yourself, consider using an ergonomic triangular glass cleaning tool with a pivoting handle. Clean the inside windshield in small sections, changing the microfiber bonnet frequently. Once the plasticizers are removed, cracking your vehicle windows slightly when parked in private, sheltered spots can significantly reduce ongoing chemical condensation on hot days.
Identifying and Removing Stubborn Water Spots
Water spots represent more than just an aesthetic annoyance; left untreated, they can cause permanent structural etching on automotive glass. These unsightly rings form when hard water from lawn sprinklers, untreated municipal hose water, or mineral-laden rain evaporates on the vehicle surface. As the liquid disappears, concentrated deposits of calcium, magnesium, silicates, and industrial salts remain bonded to the glass.
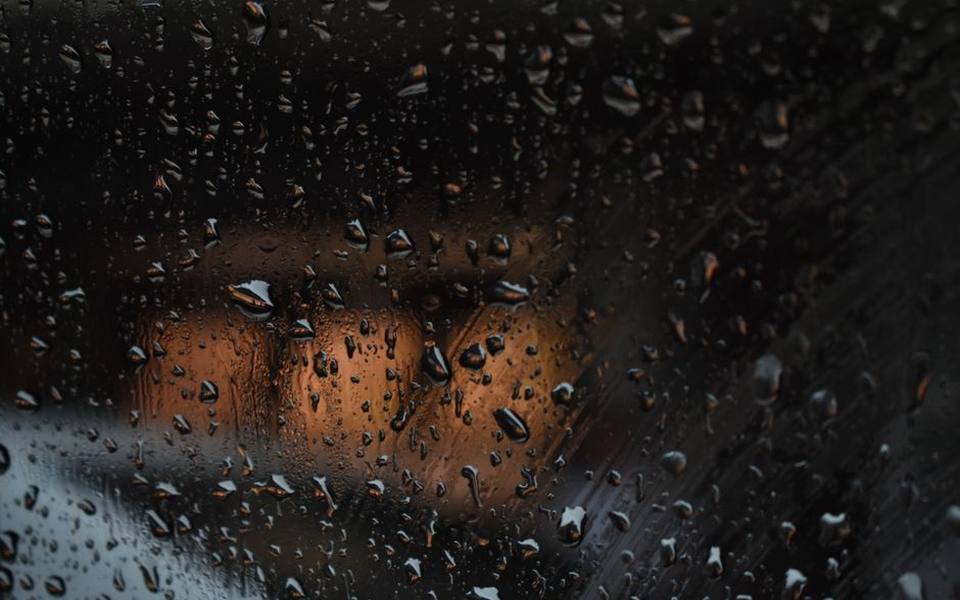
Detailers generally classify water spots into two categories: superficial mineral crusts (Stage 1) and deep etched deposits (Stage 2). Stage 1 deposits sit entirely above the glass surface and can be dissolved with mildly acidic cleaning solutions. A gentle solution of equal parts distilled white vinegar and distilled water dissolves basic calcium carbonate deposits effectively without stripping factory glass coatings when rinsed thoroughly.
Stage 2 deposits occur when mineral spots sit under prolonged sunlight, allowing chemical acids to physically etch microscopic craters into the glass. At this stage, chemical spray cleaners can no longer dissolve the blemishes because the damage is physical rather than topical. Regular maintenance through a clean touchless wash helps minimize mineral accumulation before etching takes hold.
Mechanical Decontamination with Clay and Glass Polish
When chemical cleaners and vinegar rinses fail to remove rough grit or etched water spots, mechanical decontamination becomes necessary. Over thousands of highway miles, glass collects embedded tree sap droplets, industrial fallout, overspray paint, and rail dust that resist liquid detergents. Running your fingers across clean glass inside a thin plastic sandwich bag reveals just how coarse contaminated glass actually feels.
Automotive detailing clay bars glide across wet glass using specialized lubricant or auto window cleaner to pull embedded particulate matter out of microscopic surface pores. Knead the clay flat, slide it across the lubricated surface with light pressure until the dragging sensation disappears, and wipe the glass clean. Detailing clay removes bonded contaminants safely without scratching the hardened exterior glass surface.
For deeply etched mineral rings or wiper haze, applying a cerium-oxide-based glass polish provides the ultimate resurfacing solution. Glass is substantially harder than vehicle clear coats, so removing true defects requires a firm foam or rayon pad worked with a dual-action polisher at low speeds. Polishing restores optical clarity, allowing the vehicle's wipers to sweep quietly without jumping or chattering across calcified patches.
Windshield Chip Assessment: When to Repair Versus Replace
Windshield damage typically starts as an abrupt impact from road debris, creating a localized stone chip. Understanding the geometry of that impact determines whether simple resin repair is feasible or if complete windshield replacement is required. Common chip shapes include small bullseyes, star bursts with tiny radial cracks, half-moons, and combination breaks caused by jagged gravel strikes.
As a practical guideline, chips smaller than the diameter of a standard quarter can typically be restored safely using resin injection techniques. However, damage located directly in the driver's acute field of vision—roughly an eight-by-eleven-inch box directly ahead of the steering wheel—often requires full replacement. Even high-grade resin can leave minor optical distortion that distracts the driver when looking through intense direct headlights.
Timing plays an essential role in structural glass repair. Fluctuating cabin temperatures from defrosters or air conditioning systems cause the laminated glass layers to expand and contract at different rates. If left unaddressed, a minor stone chip can suddenly spiderweb into an unrepairable foot-long fracture across the laminate during a single chilly morning commute.
Step-by-Step Windshield Chip Repair with DIY Kits
A consumer windshield chip repair kit allows attentive car owners to stabilize minor rock damage at home for a fraction of professional replacement costs. These kits rely on an anaerobic or ultraviolet-curing acrylic resin that matches the refractive index of automotive safety glass. When installed correctly, the liquid resin fills internal microscopic air voids, bonds the fractured glass layers, and halts crack propagation.
Begin the repair process by thoroughly inspecting the impact crater. Use a clean pushpin or razor blade to gently dislodge pulverized loose glass dust from the central pit without widening the crack. Thoroughly clean the surrounding area with rubbing alcohol to remove grease and road wax, then position the kit's adhesive pedestal or suction-cup bridge directly centered over the impact aperture.
Mount the resin chamber, introduce several drops of specialized bonding resin, and thread the pressure plunger down according to the kit instructions. Alternating between vacuum cycles (drawing trapped air bubbles out of the break) and pressure cycles (forcing liquid resin into the fractures) fills every tiny leg of the chip. Once cured under direct sunlight or a portable UV lamp, scrape the surface flush with a single-edge razor blade.
Wiper Blades, Washer Fluid, and Wiper Arc Scratches
Even the cleanest windshield remains vulnerable to severe scratching if the vehicle's wiper system is neglected. Over months of exposure to ozone and road grime, flexible wiper blade rubber degrades, hardens, and collects sharp quartz sand particles along its contact edge. Activating dried wipers across a dusty windshield acts like coarse sandpaper, carving faint arc-shaped scratch patterns directly into the glass.
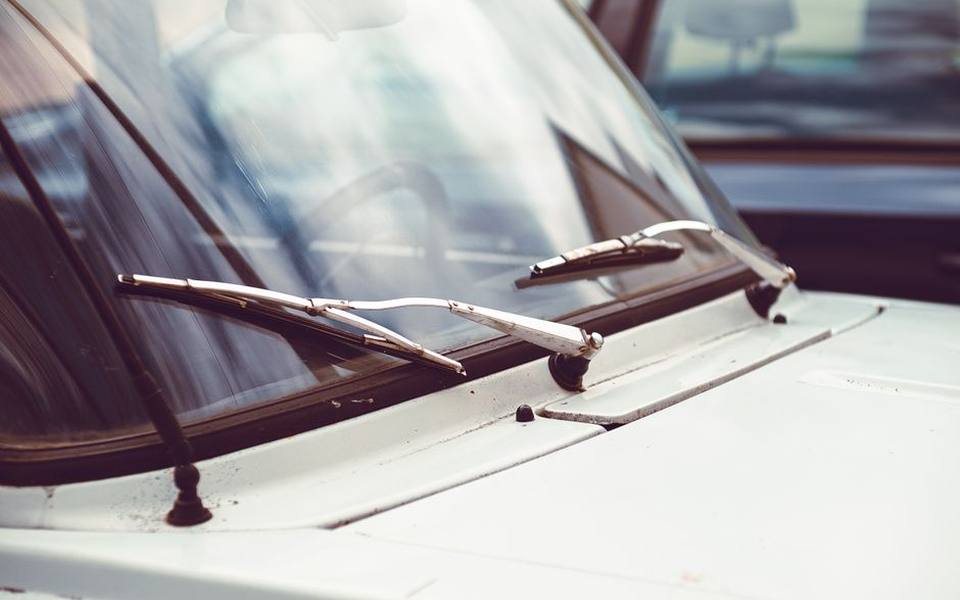
Make it a habit to clean your wiper blades every time you wash your car. Saturate a paper towel or microfiber cloth with automotive glass cleaner and firmly wipe down the squeegee edge until it stops leaving black oxidation streaks on your rag. Most rubber wiper inserts typically last six to twelve months, after which replacement becomes necessary to prevent streaking and glass abrasion.
Selecting an appropriate car window washer fluid is equally critical for preserving optical clarity. Plain tap water should never be poured into washer reservoirs because it fosters bacterial slime and deposits calcium scale inside fine washer nozzles. Quality commercial washer fluids contain detergents that dissolve bugs quickly, along with antifreeze alcohols that prevent seasonal tank freeze-ups in colder northern regions.
Integrating Glass Care into Your Routine Wash Schedule
Maintaining spotless car glass requires establishing a consistent care regimen rather than waiting for visibility to deteriorate completely. During routine trips to a hand car wash, remember to instruct detailers not to use petroleum-based tire shine applicators anywhere near window glass or windshield cowls, where sling can coat the glass during highway travel.
Applying a hydrophobic glass sealant or dedicated glass ceramic coating creates an invisible, slick barrier that repels water droplets at highway speeds. These coatings significantly reduce the surface tension of the windshield, causing rain to bead up and blow off under natural airflow. Furthermore, hydrophobic layers prevent insect splatter and mineral deposits from forming tight chemical bonds with the glass substrate.
For owners managing heavily driven road trip vehicles, periodic visits for full car detailing services keep exterior glass decontaminated and interior vinyl film completely mitigated. Consistent maintenance protects your vehicle's safety systems, preserves visibility during blinding storms, and prolongs the service life of expensive laminated windshields.
Published 2026-09-24 · reviewed with each rebuild, last October 2026.
Find car washes near you
The directory lists 29,234 car washes by state and city — pick your state or use the “Near me” button in the header.
More guides
-
 Money
MoneyCar Detailing Cost Guide: Average Prices and Packages
-
 Service
How to Remove Window Tint and Car Wraps: DIY Methods and Costs
-
 Service
Headlight Restoration Guide: Cleaning Methods and Repair Costs
-
 Buying
Choosing the Best Detailing Vacuums, Steamers, and Washers
-
 Service
How to Buff and Polish Car Paint: DIY Exterior Detailing Guide
-
 Owning
Best Car Detailing Products: Waxes, Sealants, and Clay Bars
-
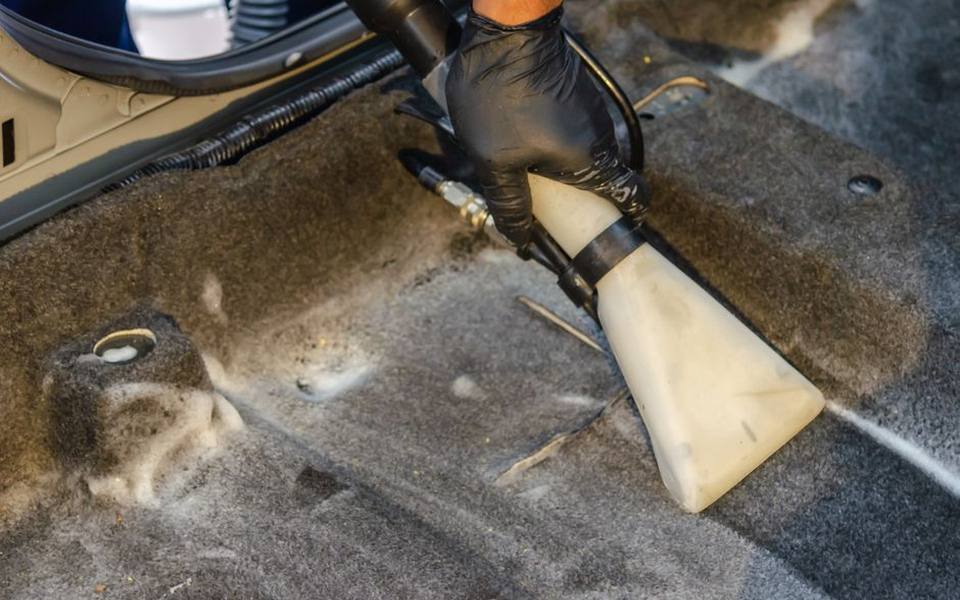 Service
Interior Car Detailing: How to Clean Seats, Carpets, and Remove Odors
-
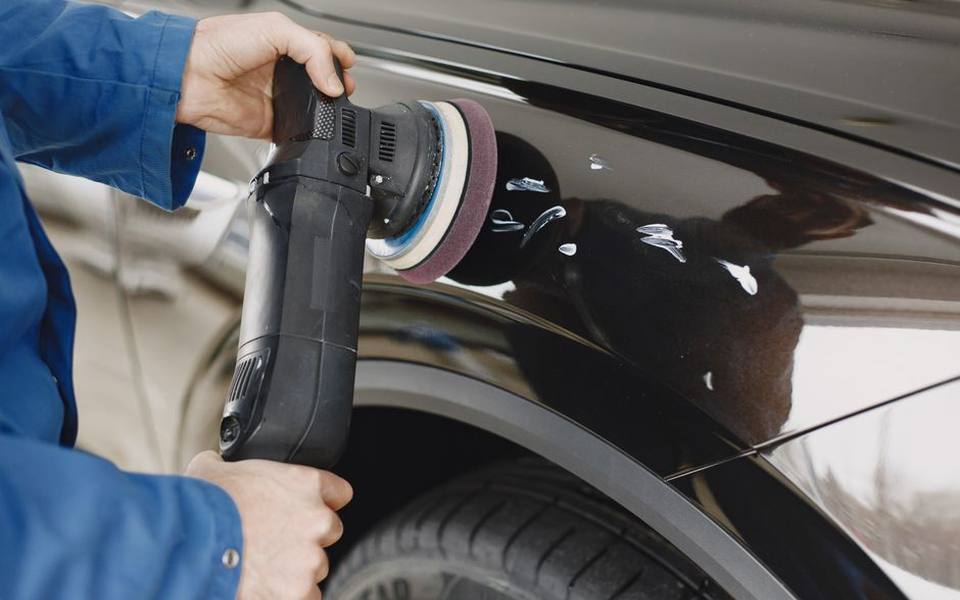 Service
Car Scratch Removal Guide: DIY Fixes versus Body Shop Costs
-
 Service
Complete Guide to Self-Serve and Automatic Drive-Thru Car Wash Services
-
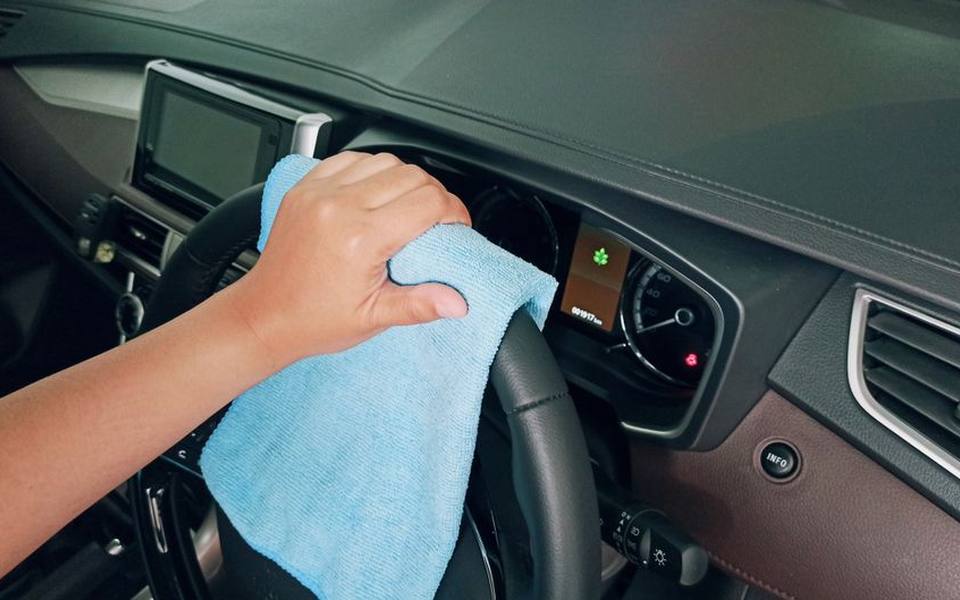 Service
Professional Auto Detailing: Interior Deep Cleaning and Mobile Wash Guide
-
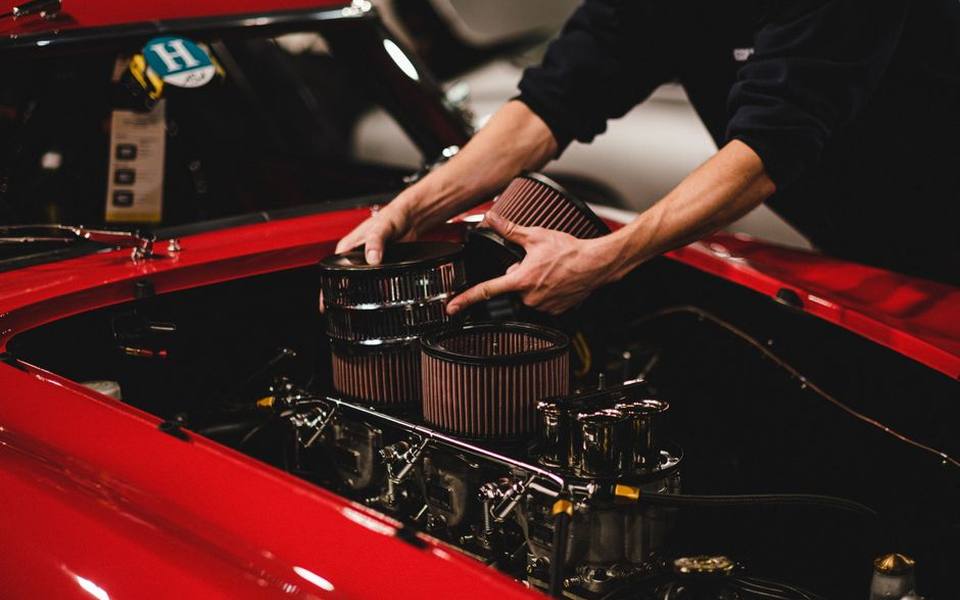 Service
Vehicle Air Filter Replacement: Cabin vs Engine Air Filters
-
 Service
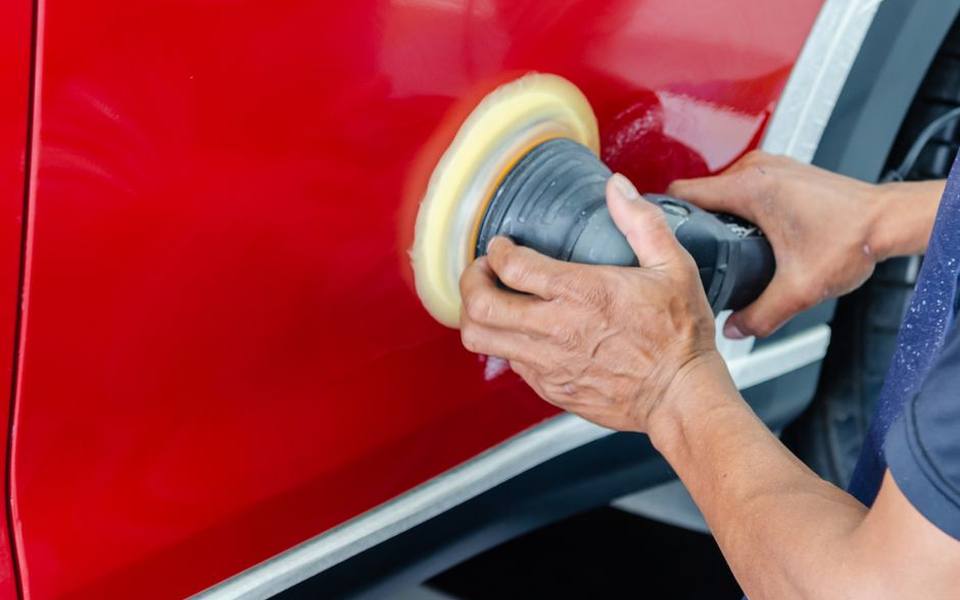
Car Scratch Repair, Paint Correction, and Buffing Techniques
-
 Owning
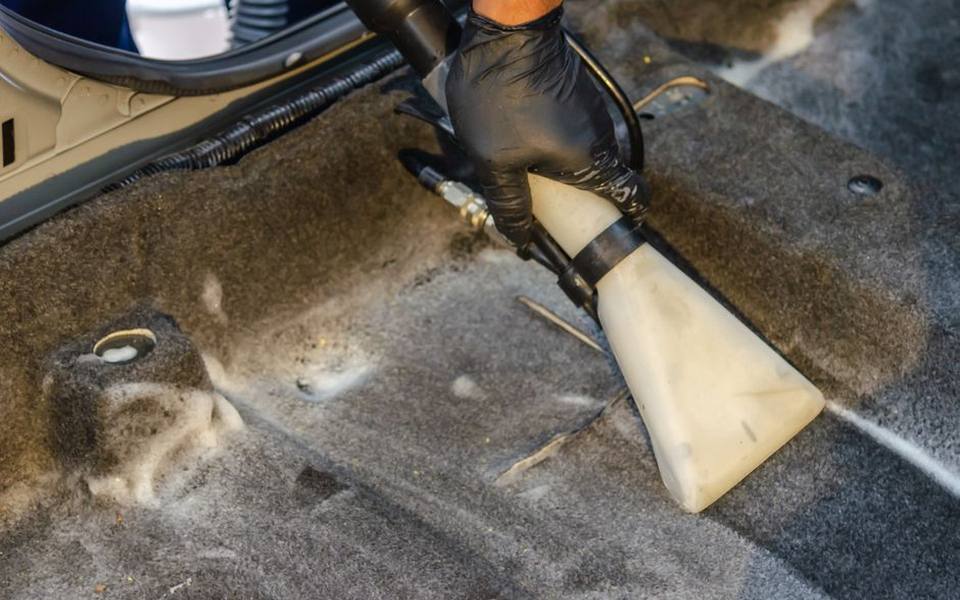
Complete Car Interior Detailing Guide: Carpet, Leather, and Dashboard Cleaning
-
 Service
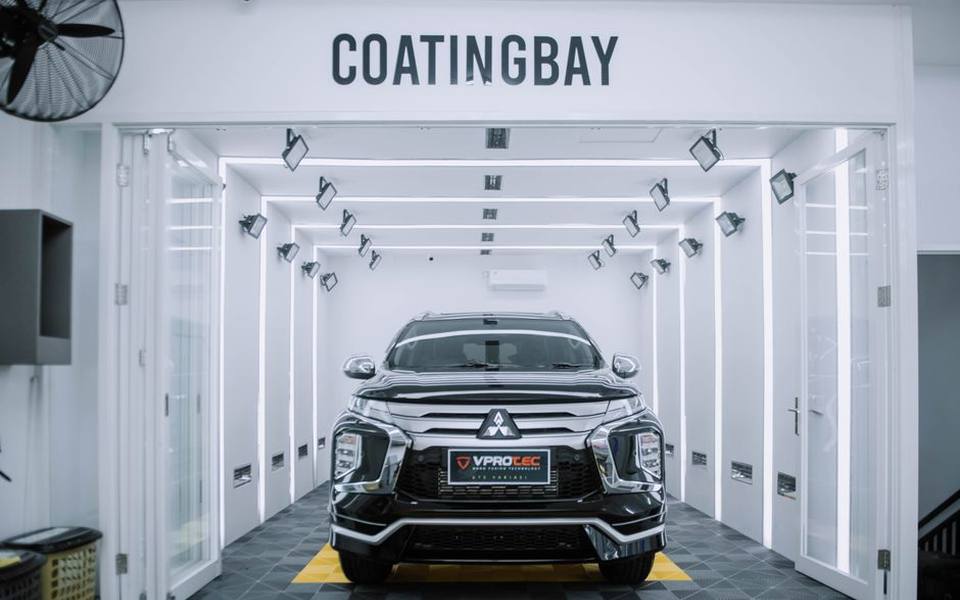
Automotive Ceramic Coatings and Paint Sealants: Costs, Products, and Application
-
 Service
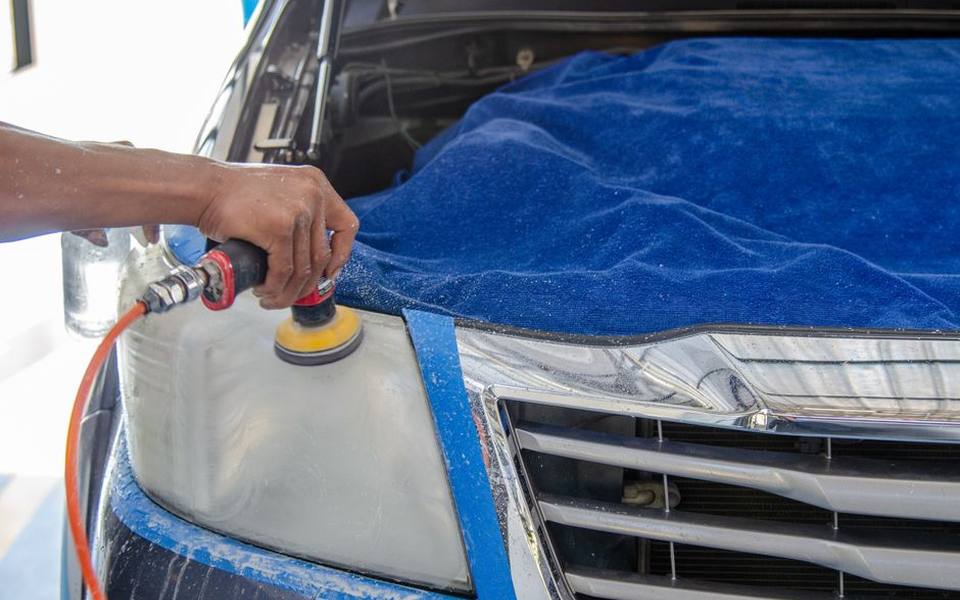
Headlight Restoration and Cleaning: Toothpaste Hacks, Polish, and UV Sealants