The Mechanics of Peeling Film and Dissolving Adhesive
Removing old window film or a full vehicle wrap comes down to managing heat, tension, and adhesive chemistry. Both materials rely on pressure-sensitive adhesives that bond more aggressively over time as they bake under direct sunlight. When you pull film cold, the backing tends to tear into brittle shreds, leaving behind a gummy, hardened layer of glue that requires hours of tedious scraping. Applying controlled heat softens the adhesive layer so the film can release cleanly in larger sheets.
Window tint and exterior vinyl present very different risks during removal. Tint sits on the inside of vehicle glass, where rear window defroster lines and antenna elements are vulnerable to physical scrapes. Exterior vinyl wraps sit directly over factory clear coat or aftermarket paint, meaning excessive heat or improper pull angles can lift the finish or leave severe glue lines. Understanding what lies beneath each layer determines whether a simple home afternoon project makes sense or professional intervention is safer.
Whether you are stripping faded purple window film or peeling a weathered commercial wrap, patience matters far more than muscle. Rushing the process usually leads to broken glass elements, scratched paint, or stubborn adhesive deposits that resist ordinary household cleaners. Setting aside adequate time and using the right softening methods ensures that the underlying glass and factory paint remain completely intact once the material comes off.
Safely Stripping Window Film at Home
The most reliable do-it-yourself method for tint removal uses a handheld garment steamer rather than a heat gun. Steam delivers steady moisture along with moderate heat, which penetrates the polyester layers and liquefies the glue without scorching nearby interior trim. Hold the steam nozzle an inch away from the top corner of the window for roughly twenty seconds until the edge curls. Gently peel downward at a forty-five-degree angle while continuing to direct steam right at the peeling seam.
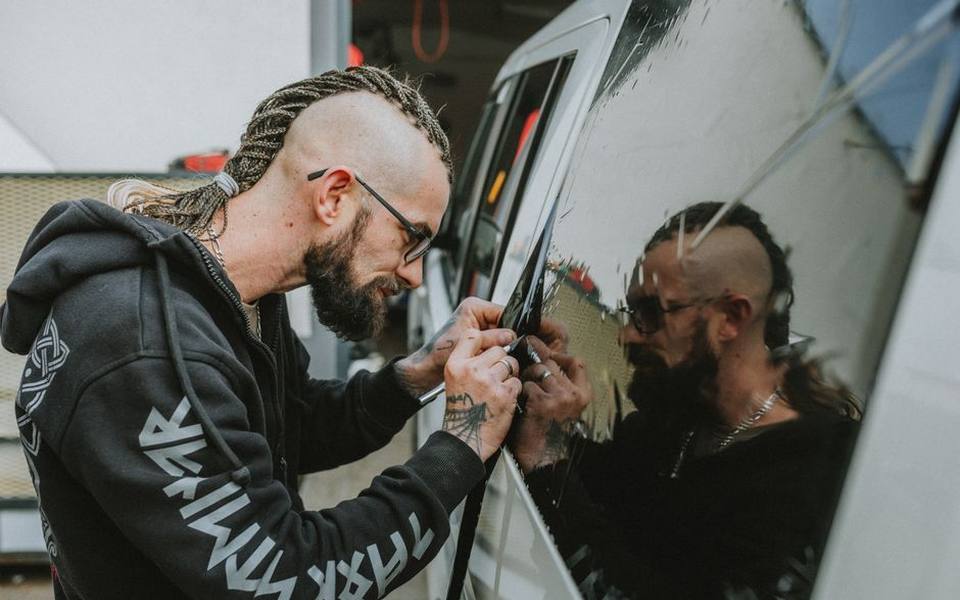
If you do not own a steamer, the solar bag technique offers a low-effort alternative on warm, sunny afternoons. Spray the inside of the tinted glass with soapy water or an ammonia-based cleaner, cover it tightly with a black plastic trash bag cut to shape, and park the car in direct sun for an hour. The trapped solar heat cooks the adhesive, allowing the film to peel away in one or two large sheets. You can easily wipe down the interior glass or book interior car detailing to eliminate lingering chemical smells.
Side windows can be cleaned of leftover residue using stainless steel razor blades lubricated with plenty of soapy water. Never use metal razors on the rear windshield, because even light pressure can slice through the delicate orange defroster grids. For rear glass, rely exclusively on fine nylon scrub pads, adhesive removers, and microfiber towels to scrub the sticky film away without causing electrical damage.
Peeling a Vinyl Vehicle Wrap Without Ruining Clear Coat
Car wraps are entirely removable by design, provided the original paint beneath the vinyl was sound when installed. To pull a wrap at home, a standard heat gun or infrared lamp is essential, though you must keep the heat source moving constantly to avoid bubbling the paint. Warm a section until it feels hot to the touch but not scorching, lift a corner with your fingernail or a plastic scraper, and pull the vinyl back against itself at a low, flat angle.
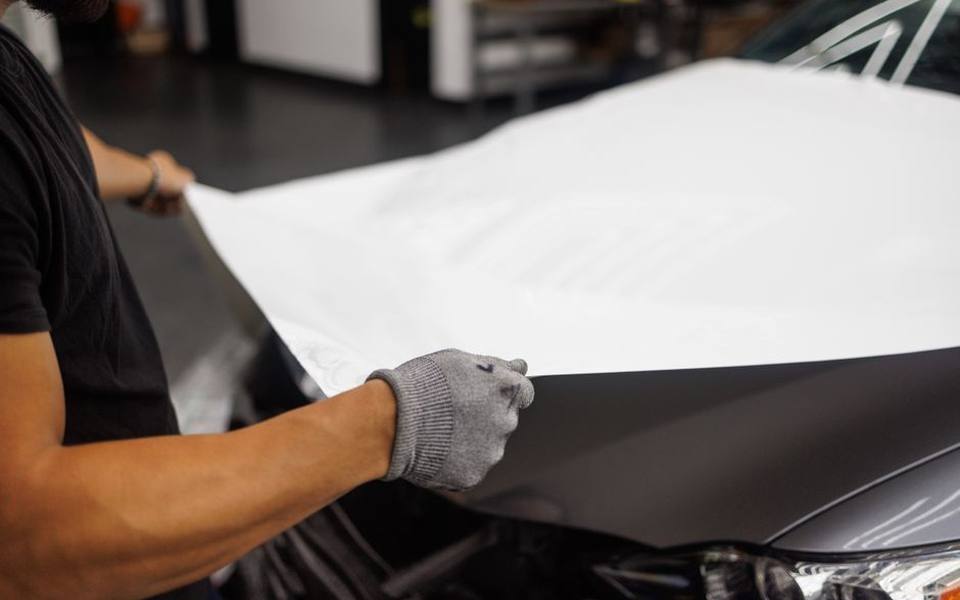
Pulling the vinyl upward at a ninety-degree angle increases the chance of pulling clear coat, especially along panel edges, plastic bumpers, and stone-chipped areas. Work slowly across each panel in steady four-to-six-inch increments. If the wrap is relatively fresh, say under four years old, it often lifts smoothly with minimal residue. Older wraps that have baked in southern climates can become brittle and fracture into tiny thumbnail-sized flakes, requiring far more patience and heat.
Once the panels are bare, you will likely encounter glue lines along body seams, door handles, and badge recesses. Spraying a citrus-based adhesive remover allows the remaining tack to break down within several minutes. Afterward, visiting local self-serve wash bays gives you high-pressure rinse access to wash away dissolved residue before it can re-harden onto the finish.
What to Expect for Professional Removal Costs
Professional window tint removal typically costs anywhere from $100 to $250 for an entire vehicle, depending on the number of windows and the condition of the film. Two front side windows generally cost between $40 and $80 to strip, while a bubbling, degraded rear window alone can run $100 or more because technicians must exercise extreme caution around defroster elements. Most specialty tint and glass shops include clean-up and surface prep in their quotes.
Vehicle wrap removal costs vary much more widely because labor depends directly on the vinyl's age and condition. A wrap removed within its manufacturer lifespan usually takes four to eight hours, typically costing between $500 and $1,000. However, heavily neglected or sun-baked vinyl that chips away piece by piece can demand upwards of twenty hours of manual labor, pushing quotes between $1,500 and $2,500 or more at established vinyl and body shops.
When weighing DIY versus hiring a shop, factor in the value of your time and the potential risk to your vehicle. Damaging a rear defroster grid can require full glass replacement, which easily exceeds the cost of professional tint removal. If you prefer professional hands to manage the paint condition afterward, scheduling full car detailing services can combine wrap stripping with polishing to restore gloss across every panel.
Post-Removal Washing and Paint Restoration
Stripping away film leaves glass and paint exposed to environmental elements without the previous physical barrier. On painted panels, glue removers strip away every trace of wax or sealant, leaving the clear coat completely unprotected. Even on glass, microscopic glue traces attract dust and create severe glare at night if not completely neutralized with an isopropyl alcohol wipe.
Take the vehicle through a thorough wash immediately after removing residue to rinse away all chemical solvents from rubber gaskets and plastic moldings. Choosing a gentle touchless wash or doing a two-bucket hand wash prevents dragging dislodged adhesive particles across freshly uncovered paint. Pay close attention to panel gaps where sticky residue tends to accumulate during the peeling process.
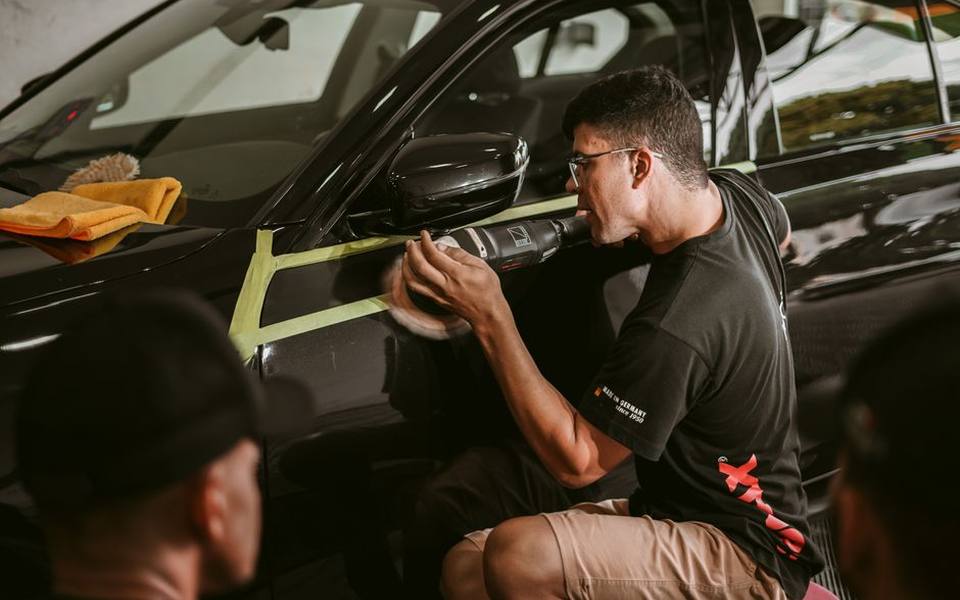
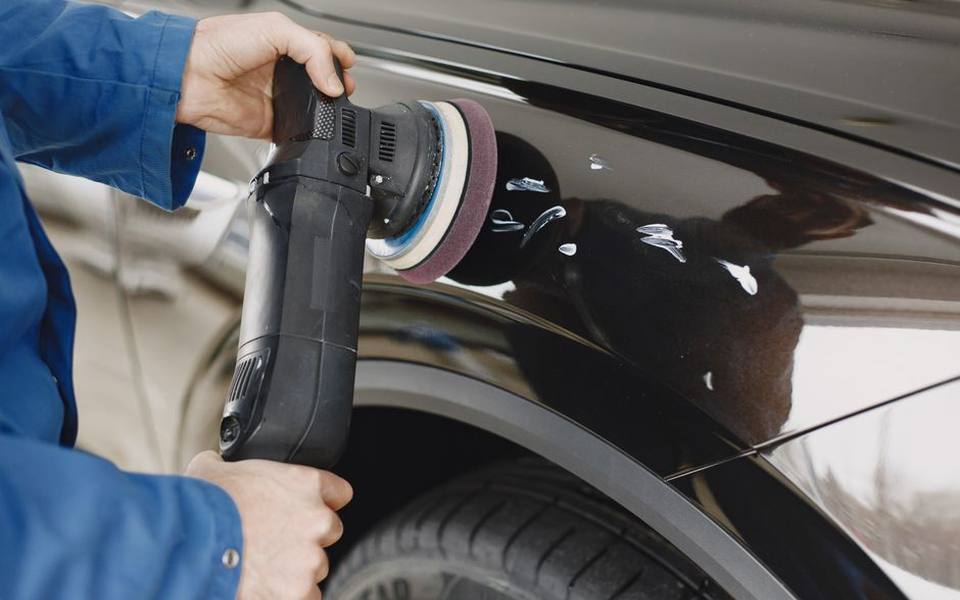
Finally, inspect the newly exposed paint under good lighting to assess its condition. Because wrapped panels have been shielded from ultraviolet fading, you may notice color differences if only partial sections were covered. A light machine polish followed by a fresh layer of ceramic coating or quality paste wax will even out minor hazing and protect your finish for years to come.
Published 2026-09-20 · reviewed with each rebuild, last September 2026.
Find car washes near you
The directory lists 26,115 car washes by state and city — pick your state or use the “Near me” button in the header.
More guides
-
 Money
MoneyCar Detailing Cost Guide: Average Prices and Packages
-
 Service
Headlight Restoration Guide: Cleaning Methods and Repair Costs
-
 Buying
Choosing the Best Detailing Vacuums, Steamers, and Washers
-
 Service
How to Buff and Polish Car Paint: DIY Exterior Detailing Guide
-
 Owning
Best Car Detailing Products: Waxes, Sealants, and Clay Bars
-
 Service
Interior Car Detailing: How to Clean Seats, Carpets, and Remove Odors
-
 Service
Car Scratch Removal Guide: DIY Fixes versus Body Shop Costs