Surface preparation before any machine touches the paint
Polishing car paint restores depth and clarity by leveling microscopic imperfections in the clear coat, but you should never polish a dirty vehicle. The process begins with stripping accumulated road grime, grease, and loose grit through a thorough two-bucket wash. Skipping this initial decontamination will trap dirt particles beneath your buffing pad, grinding them into the finish and scouring deeper swirl marks into the clear coat.
After washing, inspect the paint texture by sliding your hand inside a thin plastic sandwich bag across the hood. If the panel feels rough rather than glass-smooth, embedded contaminants like industrial fallout, brake dust, and tree sap are stuck in the finish. Spraying a dedicated iron fallout remover dissolves bonded metallic particles, while gliding a detailing clay bar with plenty of lubricant lifts stubborn residue out of the paint pores.
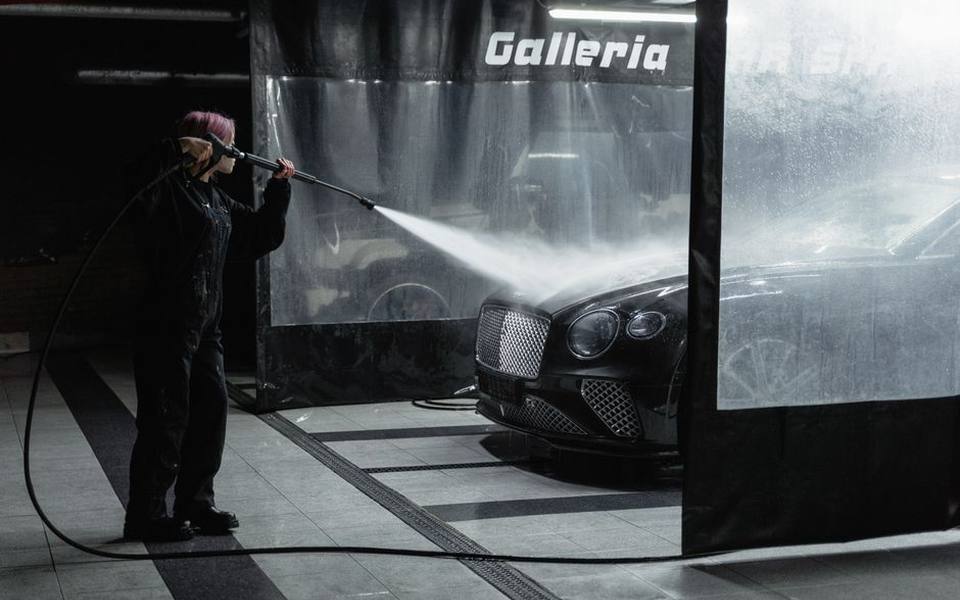
Vehicle owners without a shaded driveway often tackle the wash stage at local self-serve wash bays before bringing the car into an enclosed space for correction. Using high-pressure sprayers helps blast trapped grit out of window seals, emblems, and door jambs. Once home, dry every seam thoroughly, as stray water droplets escaping trim during buffing can dilute compounds and cause messy sling across clean panels.
Selecting the right machine, pads, and polishing compounds
Choosing your polishing liquids depends directly on the severity of the paint defects you need to correct. Heavy cutting compounds paired with dense microfiber or firm foam pads level deeper scratches and oxidation, while fine finishing polishes refine the finish into a high-gloss reflection. A sensible rule of thumb is to test the least aggressive combination first on an inconspicuous test spot before escalating to harsher cutting liquids.
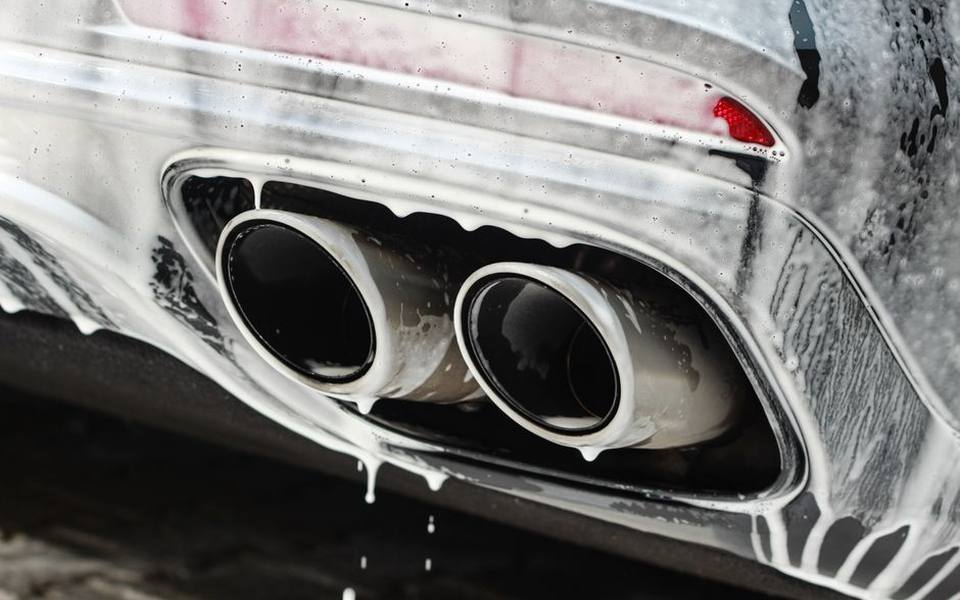
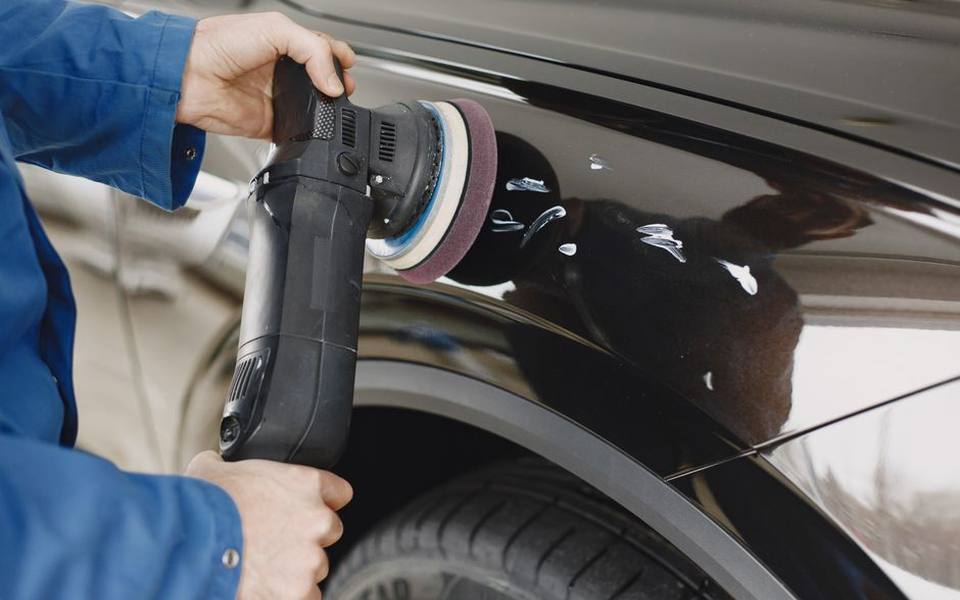
For machinery, a random orbital or dual-action polisher is the safest choice for DIY detailers because it spins and oscillates simultaneously. This irregular movement prevents concentrated heat buildup along panel edges, drastically reducing the risk of burning through thin clear coat. Rotary polishers spin on a direct fixed axis and cut faster, but they require experienced technique to prevent visible holograms, buffer trails, and edge damage on curved panels.
Pad maintenance during the job is just as critical as pad density. As you buff, spent clear coat material and dried compound collect inside the pad face, reducing cutting efficiency and generating excess surface friction. Keeping three to four pads on hand for each polishing stage allows you to swap them out as they saturate, or you can brush the working face clean after every working section.
Step-by-step technique for machine buffing each panel
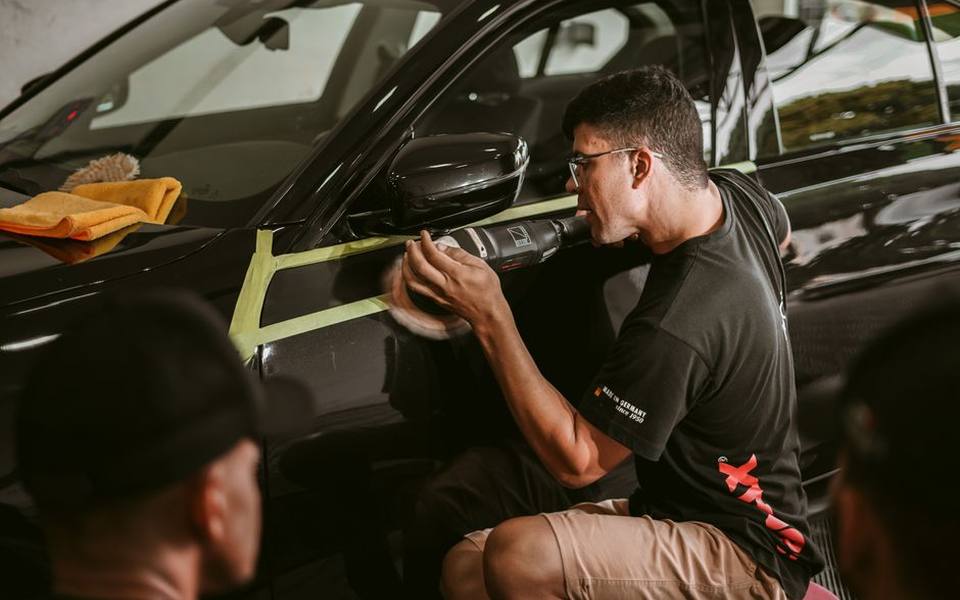
Begin by masking off delicate rubber trim, unpainted plastic moldings, and sharp body lines with low-tack automotive tape. Polishing pads can burn paint quickly on thin edges or leave permanent white stains on textured plastic. Apply three or four pea-sized dots of polish to the pad face, spread the liquid across a small two-foot by two-foot section with the machine off, and then start the tool on low speed.
Work the machine across the section using steady, overlapping passes in a cross-hatch pattern, moving horizontally first and then vertically. Keep the pad completely flat against the panel and guide the tool with slow arm movements, letting the polisher's own weight supply downward pressure. Moving the machine too quickly prevents the abrasives from properly breaking down, leading to an uneven finish and lingering haze.
Once the compound turns into a light, translucent film—typically after three to four overlapping passes—turn off the polisher before lifting it off the panel. Wipe the residue away immediately using a clean, plush microfiber towel with minimal hand pressure. Inspect your progress under direct sunlight or an inspection light from multiple angles to confirm the defects are corrected before moving to the adjacent area.
Assessing deep scratches and when to wet sand
Wet sanding is an aggressive corrective technique reserved strictly for severe scratches, heavy orange peel, or isolated blemishes that normal compounds cannot level. Modern automotive clear coat is surprisingly thin, often measuring less than the thickness of a post-it note. If a scratch catches your fingernail as you slide it across the groove, it has likely sliced through the clear coat, meaning sanding will only risk breaking through to primer.
When wet sanding is appropriate, starting with very fine abrasives minimizes deep sanding gouges that require heavy compounding later. Detailers typically choose 2000-grit to 3000-grit wet-or-dry sandpaper wrapped around a pliable foam block. The foam backing distributes hand pressure evenly across the surface, preventing your fingers from digging isolated trenches into the paint while working.
Keep the sandpaper and the work area thoroughly soaked with water mixed with a few drops of car wash soap for slick lubrication. Sand using light, straight strokes perpendicular to the scratch, stopping frequently to squeegee away residue and check your depth. Once the defect is leveled flush with the surrounding paint, follow up with heavy compound and fine polish stages to restore clarity to the dulled spot.
Protecting the finish and preventing new swirl marks
Corrected paint is completely naked, leaving the clear coat exposed to environmental fallout, bird droppings, and ultraviolet rays. Sealing the surface immediately after your final polishing pass preserves your hard work. Traditional carnauba paste waxes deliver deep, warm gloss but typically hold up for only a few weeks, whereas synthetic paint sealants and ceramic coatings provide durable chemical resistance that can endure for many months.
Maintaining that showroom finish requires adjusting your regular cleaning habits. If you use commercial car washes between deep details, choosing an option like a modern touchless wash helps rinse road grime away without dragging abrasive brush bristles across your leveled paint. Friction-based wash tunnels are one of the most common sources of spider-web swirls on dark vehicles.
When washing by hand at home, always use two buckets with grit-guard inserts to separate wash soap from rinse water. Dry the panels using plush, high-pile microfiber towels paired with a quick detailer spray as a drying aid to reduce dragging friction. Careful maintenance habits ensure that you only need to perform corrective polishing once every few years rather than every season.
Weighing DIY detailing costs against professional service
Deciding between buffing the paint yourself or paying a professional shop comes down to your budget and available time. Outfitting your garage with a dual-action polisher, quality backing plates, pad sets, compounds, and microfiber supplies typically requires an initial investment of a few hundred dollars. For an enthusiast willing to learn the technique, these tools last for years and pay for themselves across multiple family vehicles.
However, performing a multi-stage paint correction on a midsize sedan or large truck typically demands anywhere from eight to fifteen hours of patient, physical work. Detail shops utilize professional lift platforms, specialized paint depth gauges, and high-intensity overhead lighting to diagnose defects quickly and work safely. If you lack covered workspace or physical stamina, booking professional auto and car detailing services avoids equipment overhead and potential paint damage.
Professional exterior correction pricing varies depending on local labor rates, paint hardness, and defect severity. Simple single-stage gloss enhancements cost less, while multi-step defect removal combined with ceramic protection costs significantly more. Discussing your vehicle's condition with shops offering full-service auto detailing can help you decide whether your paint warrants expert correction or a weekend DIY effort.
Published 2026-09-20 · reviewed with each rebuild, last September 2026.
Find car washes near you
The directory lists 26,115 car washes by state and city — pick your state or use the “Near me” button in the header.
More guides
-
 Money
MoneyCar Detailing Cost Guide: Average Prices and Packages
-
 Service
How to Remove Window Tint and Car Wraps: DIY Methods and Costs
-
 Service
Headlight Restoration Guide: Cleaning Methods and Repair Costs
-
 Buying
Choosing the Best Detailing Vacuums, Steamers, and Washers
-
 Owning
Best Car Detailing Products: Waxes, Sealants, and Clay Bars
-
 Service
Interior Car Detailing: How to Clean Seats, Carpets, and Remove Odors
-
 Service
Car Scratch Removal Guide: DIY Fixes versus Body Shop Costs