Understanding why plastic headlight lenses haze over
Headlight restoration is the process of removing the oxidized, yellowed outer layer of clear automotive plastic to recover beam strength and optical clarity. Modern vehicle headlights are made of molded polycarbonate plastic, which is tough and impact-resistant against flying road debris. However, polycarbonate is naturally sensitive to ultraviolet light, requiring a thin factory clear coat for protection. Over several years of sun exposure, engine heat, road grime, and harsh cleaners, that factory clear coat gradually degrades and breaks down.
As the protective barrier deteriorates, the underlying plastic oxidizes, turning cloudy, milky, or distinctly yellowish. This hazy surface does far more than age the appearance of your vehicle. It scatters the beam from the bulbs inside, which can reduce nighttime forward visibility significantly and cause glare for oncoming motorists. In many regions, severely clouded lenses can even cause a vehicle to fail routine safety inspections.
Restoring them does not necessarily mean purchasing expensive replacement assemblies. In most cases, the cloudy layer sits entirely on the outside surface of the lens. By systematically abrading away the dead material and polishing the raw plastic underneath, you can return aged headlights to near-factory transparency for a fraction of the cost of new equipment.
Gathering materials and prepping your vehicle
Before beginning any restoration work, the front of the vehicle must be completely clean and dry. Any road dirt, loose grit, or brake dust left on the lens will drag across the plastic during sanding, creating deep gouges that are difficult to polish out. A quick visit to nearby self-serve wash bays allows you to thoroughly wash and rinse the front bumper, grille, and lighting assemblies before pulling into your garage or a shaded work area.
Once the vehicle is clean, masking off the surrounding bodywork is the most critical preparation step. Use automotive-grade blue or green masking tape to cover the painted edges of the fenders, hood, and front bumper immediately bordering each headlight assembly. Applying two or three overlapping layers of tape protects your vehicle's clear coat from accidental abrasions if your hand or sanding block slips off the plastic lens.
Your workspace should be sheltered from direct midday sunlight, as intense heat causes polishes and clear coats to dry too quickly. Assemble your tools beforehand: automotive wet sandpaper in progressive grits such as 1000, 2000, and 3000, a firm rubber sanding block, a spray bottle filled with clean water and a drop of car shampoo for lubrication, several microfiber towels, and a dedicated plastic polishing compound.
Step-by-step wet sanding and polishing process
Begin the restoration with your coarsest grit, which is typically 1000-grit wet sandpaper for moderately hazy lenses or 800-grit for severely pitted plastic. Thoroughly soak the paper and liberally spray the lens with lubricated water. Sand using steady, horizontal strokes back and forth across the entire lens surface, keeping the area wet at all times. You will quickly see a milky, yellowish residue forming, which is the degraded UV coating and oxidized plastic coming off.
Wipe the lens clean with a microfiber cloth and inspect your progress. The surface should look uniformly frosty and dull, without any patchy yellow spots remaining. Next, switch to 2000-grit paper, thoroughly lubricate the plastic again, and sand in straight vertical strokes. Changing direction from horizontal to vertical helps you visually confirm when the finer paper has completely smoothed away the scratches left by the previous grit.
Finish the sanding stage with 3000-grit paper using circular or horizontal motions, constantly flushing away slurry with clean water. Once dried, the lens will have a smooth, satin appearance. Now apply an ultra-fine plastic polish or compound using a clean microfiber applicator pad or an orbital buffer with a soft foam pad. Work the compound in overlapping passes until the plastic transforms from translucent satin to bright, optically crisp transparency.
Applying durable protection to lock in clarity
Polishing bare polycarbonate creates an impressive shine, but without a new protective layer, the bare plastic will oxidize again in as little as three or four months. Factory lenses only stay clear because of UV-blocking clear coats, and sanding removes that compromised original barrier entirely. Applying a fresh, dedicated UV protectant is the most vital step in determining how long your restoration lasts.
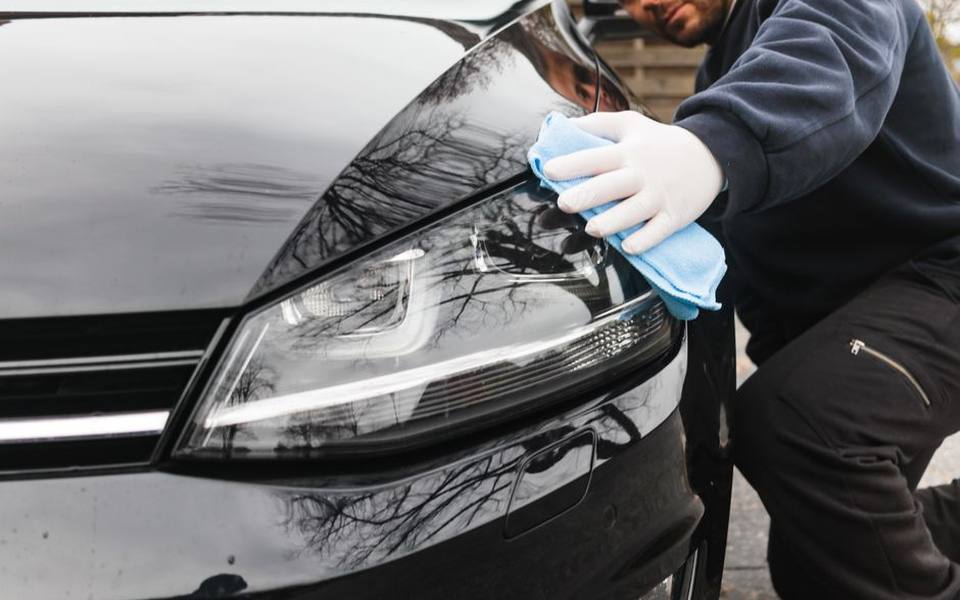
Automotive supply stores carry wipe-on ceramic coatings and specialized UV-curing clear sealants formulated specifically for polycarbonate lighting lenses. After polishing, thoroughly wipe the plastic with a gentle alcohol-based cleaner to remove any oily compounding residues that might interfere with adhesion. Apply your chosen sealant evenly in smooth, horizontal strokes, taking care to avoid overlapping streaks or runs on the surface.
Allow the coating to cure undisturbed in a dry, dust-free environment for the time recommended by the manufacturer, which typically ranges from two to twenty-four hours before rain exposure. Routine maintenance also plays a role in longevity. Choosing a high-pressure touchless wash helps prevent abrasive brush bristles from stripping away your fresh protective sealant during regular weekly cleanings.
Comparing DIY effort with professional service costs
Deciding between tackling restoration in your driveway or hiring a professional comes down to available time, tools, and budget. An over-the-counter restoration kit typically costs between $15 and $35, providing enough sandpaper, compound, and sealant for a single vehicle. If you already have detailing supplies, buying standalone sheets of wet sandpaper and plastic polish can cost even less, making the DIY route remarkably economical if you are willing to spend two hours of careful labor.
Professional services offer convenience and consistent optical quality. Many large department store tire and lube centers provide basic restoration starting around $30 to $50 for a pair of lights, though these entry-level treatments often rely on quick mechanical buffing rather than deep wet sanding. As a result, basic retail jobs may need repeat service sooner unless a premium long-term sealant is applied.
Independent auto detailing shops and mobile technicians typically charge between $75 and $175 for a complete restoration, depending on regional labor rates and the severity of lens damage. When choosing full car detailing services, technicians generally use multi-stage pneumatic sanding followed by professional-grade ceramic coatings or automotive clear coats that can keep lenses clear for several years.
Published 2026-09-20 · reviewed with each rebuild, last September 2026.
Find car washes near you
The directory lists 26,115 car washes by state and city — pick your state or use the “Near me” button in the header.
More guides
-
 Money
MoneyCar Detailing Cost Guide: Average Prices and Packages
-
 Service
How to Remove Window Tint and Car Wraps: DIY Methods and Costs
-
 Buying
Choosing the Best Detailing Vacuums, Steamers, and Washers
-
 Service
How to Buff and Polish Car Paint: DIY Exterior Detailing Guide
-
 Owning
Best Car Detailing Products: Waxes, Sealants, and Clay Bars
-
 Service
Interior Car Detailing: How to Clean Seats, Carpets, and Remove Odors
-
 Service
Car Scratch Removal Guide: DIY Fixes versus Body Shop Costs