Assessing Paint Depth Before Starting Any Repair
Fixing a car scratch yourself is completely realistic if the mark is confined to the clear coat, but deeper gouges that expose primer or bare sheet metal generally require touch-up paint or professional repainting. Automotive paint consists of three layers over the panel: primer, color basecoat, and a protective transparent clear coat. A simple fingernail test gives you immediate clarity. If your nail glides over the scratch without catching, you are dealing with superficial clear coat damage that mild compounding or machine polishing can eliminate at home.
When your fingernail drops into a distinct groove, the scratch has penetrated into the color coat or down to the primer. Wetting the area with clean water or detail spray is another helpful diagnostic test. If the scratch temporarily disappears while wet, it resides almost entirely in the clear coat, meaning buffing will likely hide it. If the white or grey underlayer remains clearly visible under water, no amount of compounding will buff it away because actual paint pigment is missing from the panel.
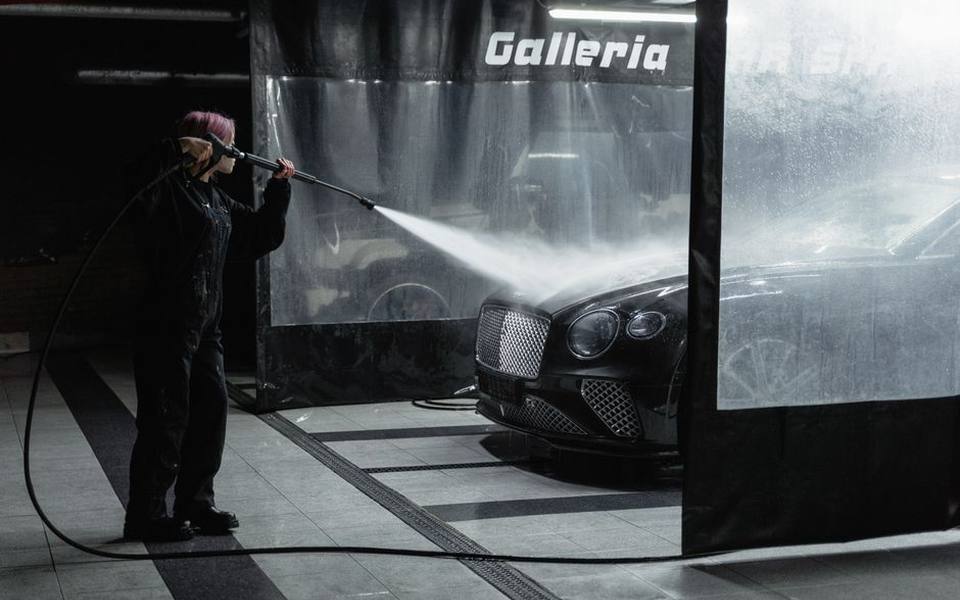
Thorough surface preparation must precede any diagnostic work or repair attempt. Rubbing dirt into an existing scratch creates severe swirl marks across adjacent panels. Rinsing your vehicle thoroughly at self-service car washes removes grit from surrounding crevices so you do not drag debris into the clear coat while inspecting the damage. Once the area is completely clean and dry under good lighting, you can decide whether a hand compound, touch-up pen, or professional estimate makes the most sense.
Polishing and Buffing Out Clear Coat Scratches
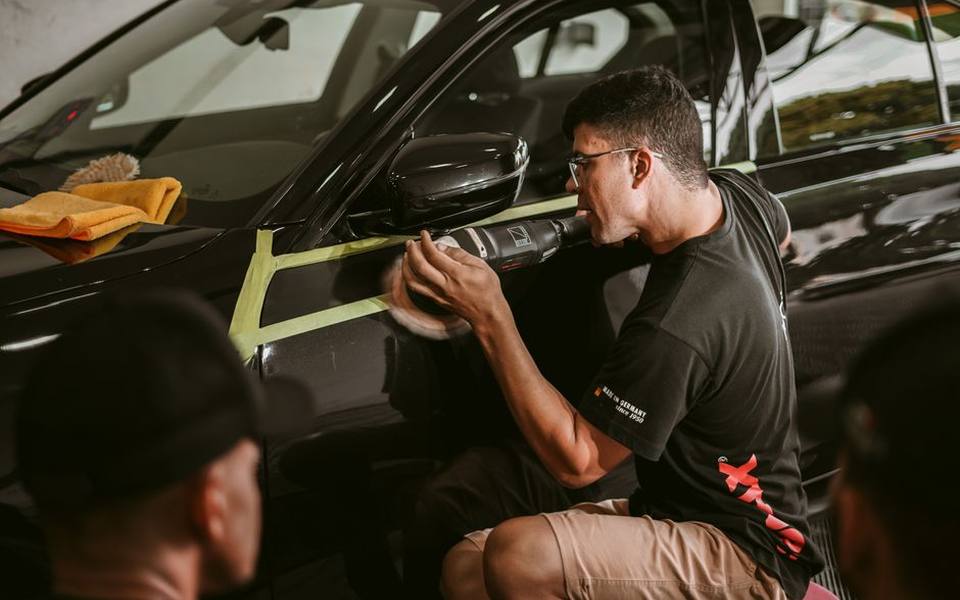
Superficial scratches and light swirl marks respond well to mild liquid compounds paired with high-density foam applicator pads or a dual-action orbital polisher. The goal of polishing is to gently level microscopic clear coat surrounding the depression until light reflects evenly again. Begin with the least aggressive polish available, working in small crosshatch motions under moderate hand pressure. Heavy-duty rubbing compounds work faster but can leave behind micro-marring that requires secondary fine polishing steps to restore gloss.
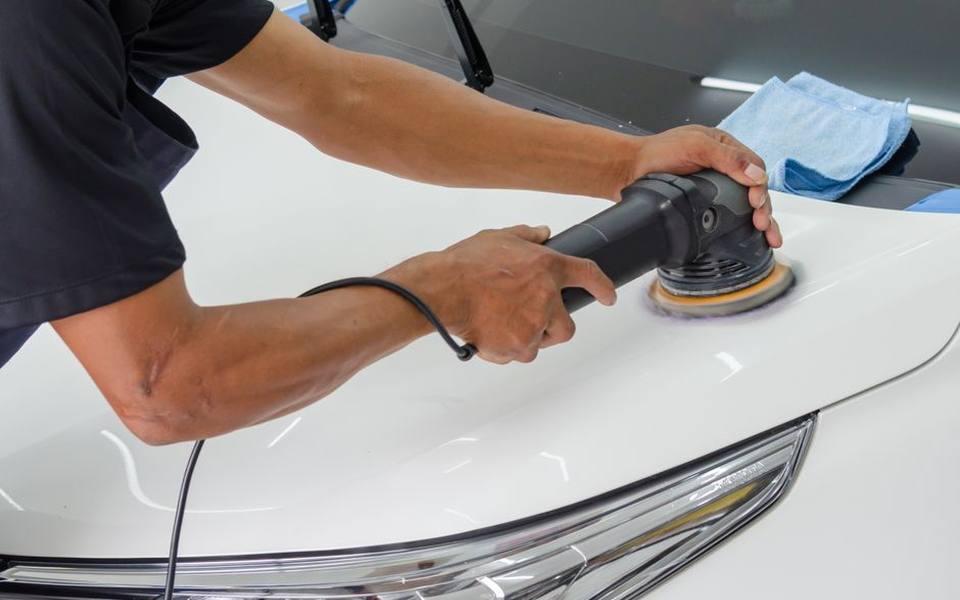
Dark vehicles and especially deep black finishes require particular patience during this process. Black paint reveals haze, hologram patterns, and uneven residue far more readily than silver or white finishes. For darker cars, using an ultra-fine finishing glaze after compounding restores optical clarity without stripping excess clear coat. Working on a cool panel in shaded conditions keeps polishing liquids from drying out prematurely, preventing friction burns on the finish.
After completing the polishing passes, wipe away residue using a clean microfiber towel and inspect the repair under direct sunlight. If the scuff has vanished, seal the exposed clear coat with a synthetic sealant or wax to prevent oxidation. Polishing removes a microscopic layer of factory protection, so replenishing that barrier ensures moisture and environmental fallout will not degrade the thinner clear coat over time.
Blending Touch-Up Paint on Deeper Grooves
Scratches reaching the primer or metal require adding pigment back into the void before sealing it. Start by securing the exact color code found on your driver-side door jamb sticker, because even slight variance between paint batches will leave noticeable dark or light spots. Clean the gouge with isopropyl alcohol to dissolve road film, silicone, or old wax. Apply a microscopic dab of primer with a fine-tip artist brush or toothpick if bare metal is exposed, letting it cure completely.
Applying factory-matched basecoat requires an ultra-light touch. Rather than dragging a standard bottle brush along the groove, dab tiny drops into the crevice and let capillary action pull the liquid along the scratch. You want the paint level to sit slightly below the surrounding clear coat surface. Allow the base pigment to dry according to the manufacturer guidelines before applying a small bead of clear coat that stands just proud of the surrounding factory finish.
Blending the raised repair with the factory panel involves careful wet sanding once everything has fully hardened over several days. Using ultra-fine wet sandpaper—typically around two thousand to three thousand grit soaked in soapy water—gently knock down the raised bead of clear coat until it lays flat with the panel. Follow this with machine compounding and fine polish to remove sanding haze. If this process feels intimidating, turning the vehicle over to a shop offering full car detailing services can save the original finish from accidental burn-through.
Professional Body Shop and Detailing Costs
How much you spend on professional scratch repair depends on panel location, paint type, and depth. A mobile detailer or shop providing professional auto detailing services typically charges between $150 and $350 to perform multi-stage machine compounding and paint correction across one or two affected panels. This approach works miracles on clear coat scratches, surface etching, and minor parking lot scuffs where base pigment remains intact.
Once a scratch reaches bare metal across a wide area or a crease, traditional paint correction will not suffice, shifting the job to a collision repair facility. A body shop generally removes trim pieces, sands the affected area down, repaints the base coat, and clears the entire panel to prevent visible blend lines. Clear coat repair and panel refinishing typically costs between $400 and $1,200 per panel, depending on whether adjacent doors or fenders require blending for seamless color matching.
Specialized finishes, including tri-coat pearl whites, candy tones, and matte paints, carry higher labor expenses. Pearl and metallic finishes require blending color into surrounding panels so metallic flakes lay at matching angles, which can easily double the repair scope. For older vehicles where full respraying exceeds practical value, asking a detailer for targeted touch-up and wet sanding offers a practical middle ground that keeps costs manageable while sealing exposed metal against rust.
Maintaining Paint Health After the Repair
Once your paint is restored, maintaining its defensive clear coat prevents new scratches from gaining a foothold. Most clear coat swirls stem from improper washing technique, such as using dirty sponges, household dish soap, or abrasive mechanical brushes. Choosing a touchless wash or employing the two-bucket hand washing method with grit guards significantly lowers the risk of dragging road sand across your fresh finish.
Applying regular paint protection forms a sacrificial barrier over the repaired clear coat. Ceramic coatings, paint sealants, or regular waxes take the brunt of light environmental friction, road grime, and bird drop etching. While protective coatings cannot stop a sharp key or heavy road debris from scraping sheet metal, they make day-to-day grit release easily during rinsing so washing does not create new micro-marring.
Monitor repaired spots during regular cleaning, particularly those where touch-up paint was applied over deep gouges. Over time, seasonal temperature swings cause automotive metal and plastic panels to expand and contract at different rates than aftermarket touch-up resins. Inspecting seams ensures moisture has not crept under the paint edges, allowing you to reapply clear sealant promptly before moisture causes flaking or corrosion underneath.
Published 2026-09-20 · reviewed with each rebuild, last September 2026.
Find car washes near you
The directory lists 26,115 car washes by state and city — pick your state or use the “Near me” button in the header.
More guides
-
 Money
MoneyCar Detailing Cost Guide: Average Prices and Packages
-
 Service
How to Remove Window Tint and Car Wraps: DIY Methods and Costs
-
 Service
Headlight Restoration Guide: Cleaning Methods and Repair Costs
-
 Buying
Choosing the Best Detailing Vacuums, Steamers, and Washers
-
 Service
How to Buff and Polish Car Paint: DIY Exterior Detailing Guide
-
 Owning
Best Car Detailing Products: Waxes, Sealants, and Clay Bars
-
 Service
Interior Car Detailing: How to Clean Seats, Carpets, and Remove Odors